This blog post is about Setting up Skype for Business Room System in Hybrid Environment, where both exchange server and Lync environment are in hybrid configuration.
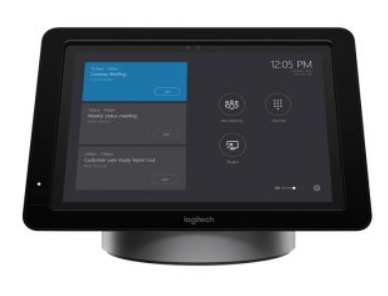
Skype for Business Room System is a cool hardware appliance which you can fit inside your organization Rooms and participants can see the Room booking information, Join the meetings, Create meeting, invite participants & much more from the appliance itself.

To set these up in Hybrid environment
1. Create a user account in the on-premise environment, Enable it on Lync on-premise environment as per your organization processes.
Wait for Azure Active directory synchronization so that account is replicated to office 365 directory.
2. Enable the Remote mailbox account for this user account.
Enable-RemoteMailbox “UserAccount@labtest.com” -RemoteRoutingAddress “UserAccount@Organization.mail.onmicrosoft.com”
“UserAccount@labtest.com” is user’s UserPrincipalName.
3. Move the Lync enabled user to SKYPE for Business Online (example shown below)
$UserCredential = get-credential
Move-CsUser -Identity “UserAccount@labtest.com” -Target sipfed.online.lync.com -Credential $UserCredential -HostedMigrationOverrideUrl https://admin1a.online.lync.com/HostedMigration/hostedmigrationservice.svc -confirm:$false
again wait for Azure Active directory synchronization, so that changes are replicated.
4. Now setup ROOM properties such as auto accept for the account from exchange online Shell.
Set-CalendarProcessing -Identity “UserAccount@labtest.com” -AutomateProcessing AutoAccept -AddOrganizerToSubject $false -AllowConflicts $false -DeleteComments $false -DeleteSubject $false -RemovePrivateProperty $false
Set-CalendarProcessing -Identity “UserAccount@labtest.com” -AddAdditionalResponse $true -AdditionalResponse ‘This is a Skype Meeting room!’
5. Lastly setup Skype properties for the account.
first find the pool on which it is hosted by using Get-CsOnlineUser -Identity “UserAccount@labtest.com” | fl *registrarpool*
Now enable meeting room on the same online pool.
Enable-CsMeetingRoom -Identity “UserAccount@labtest.com” -RegistrarPool ‘sippoolBLU1A1256311.infra.lync.com’ -SipAddressType EmailAddress
This has completed all the steps that needs to be done on exchange as well as Skype for business Online.
Note:- Don’t forget to apply Exchange online and Skype license for the Skype for Business Room account.
Go to appliance settings, login with the account that you have just created to get the ROOM system running & performing its tasks 🙂
Thanks for reading
Sukhija Vikas
